There are two ways to start your garden – direct sowing and with peat pellets.
Starting The Garden
First lessons in the garden let the students get their hands in and get dirty. Some of them may never have planted seeds before. The slow pacing of this initial gardening lesson works well as an introduction.
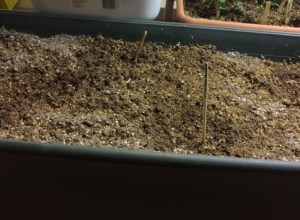
Lettuce is a great direct sowing crop. When you are ready to start, simply fill one of your containers with your growing media. Next make a long trough with your finger. Sprinkle the lettuce seeds into the trough, then cover over with the soil. Water the container and you’re done! It’s a good idea to mark what you’ve planted. You can write the name of the crop on craft sticks with a permanent marker.
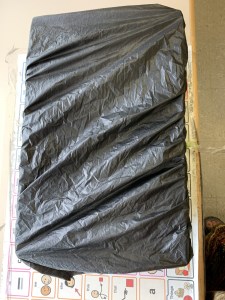
In order to help your seeds sprout, you will want to cover them with a garden cover. This is a dark plastic cover with elastic around the edges – a bit like a shower cap for your garden box! This will keep the heat and moisture in while your seedlings are germinating.

Check on the seedlings every day. Once the lettuce has sprouted, it is time to take off the cover and put your garden box under the lights. You’ll want to have your LED light about 10cm above your garden box, but if you’re using a metal halide bulb, you’ll want to have it about 30cm above. You will notice when you first take the cover off that your seedlings are spindly and anemic looking. Once they are under the bulb, they will green up before you know it!
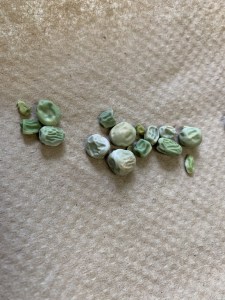
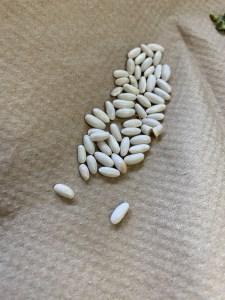
 Other plants that are good for direct sowing are beans and peas. Beans are a hardy plant that sprout quickly and you may choose to start them in peat pellets to have students observe their growth and root structure. However, peas are more sensitive and don’t like having their roots disturbed, so it is best to start them in the container that they will stay in. Check the seed packet for the depth of planting. Usually, in a full container, we use two fingers to make a hole and drop the seed in, covering it with soil after. Make sure you mark what you’ve planted with a craft stick and water the seeds thoroughly. You may wish to put a cover on these seeds until they germinate as well – make sure to check daily and remove it when you see sprouts!

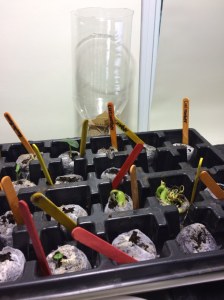
For most of your other seeds it’s a good idea to start with peat pellets. Peat pellets look like little pucks wrapped in thin cloth. In fact they are peat that has been dehydrated and wrapped in mesh netting. Before using them, you will need to soak them in warm water for about ten minutes.
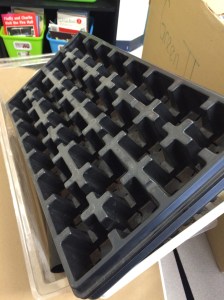
While your pellets are soaking, you can get your tray ready for the pellets. This is where they will stay until the seeds germinate and are ready to be transplanted
Once the pellets have soaked, you will need to tear the opening slightly and then dig a well in the pellet. You can use one of the craft sticks or just use your little finger! Place your seeds in the pellet and then give it a slight squeeze to cover the seeds. Once that’s done, place it in the tray. It’s a good idea to put two seeds in every pellet in case one doesn’t germinate.
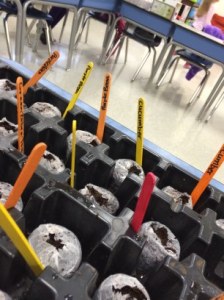
Make sure you label your seeds! Using your craft sticks and a permanent marker you can label your seeds so you will know what you are growing. Placing the pellets in sections by type of seed is a great idea so you only have to label each row, but you can do it however works for your set up.
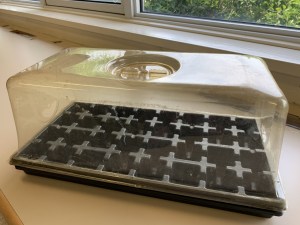
Once you’ve filled your tray, cover it with a clear plastic dome to keep in heat and moisture and help with germination. Place your tray in a warm place. It isn’t necessary to have it under the lights yet, the seeds don’t need light to sprout. Water the pellets when they are looking dry.
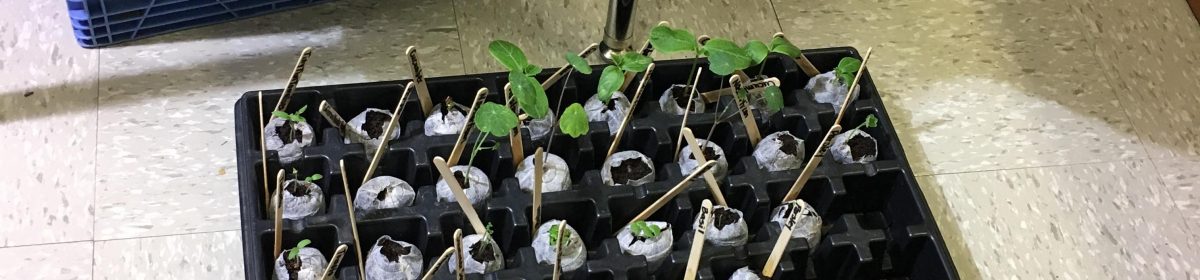
After the seeds have sprouted, you can remove the dome and place the tray under your garden light. If both seeds have sprouted, pinch off the smaller plant to encourage a single healthy plant in each pellet. If you’ve started herbs in the peat pellets, you can leave 2-3 sprouts.